Section-10, Installing the cable management arm support
About this task
Note: Read and understand all steps in this section before starting step 1.
Procedure
-
Locate the support arm parts in Box 10 of 10 inside the plastic bag labeled cable bundle 1.
See Figure 1 and Figure 2.
- A Support arm
- B Cable management stop bracket
Figure 1. Support arm parts in cable bundle 1 plastic bag 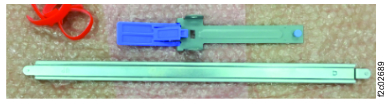
Figure 2. Relative positions of the cable management arm parts before assembly 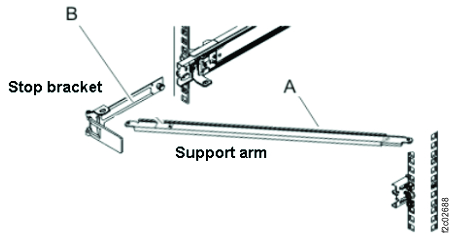
- Install the support arm.
- Facing the rear of the rack, orient the support arm so the embossed UP
1 is at the rear of the right rail. See Figure 3.
Figure 3. Arm support facing up 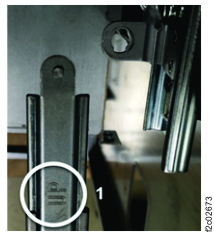
- Connect the support arm A locking bracket to the right
slide rail 1 so that you can swing the other end of the support arm
toward the left side of the rack 2 . See Figure 4.
Figure 4. Connecting the support arm 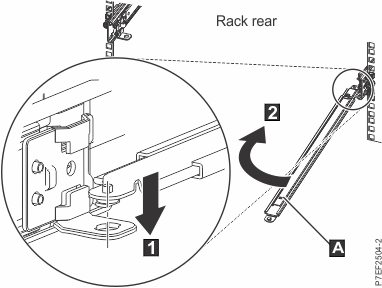
Figure 5. Arm support connected 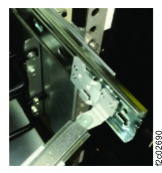
- Position the unattached end of the support arm so that the locking tab on the
underside of its tip aligns with the L-shaped cable management stop bracket
B hole. Insert the tab into the hole 1 and
turn the bracket 2 to secure it to the support arm. See Figure 6.
Figure 6. Extending the pin, and installing the bracket into the slide rail 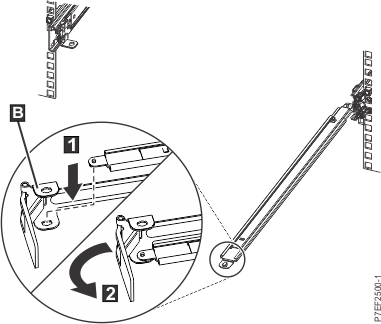
- Attach the cable management stop bracket B to the slot on
the inside of the left rail (viewed from rear) by sliding the stop bracket
B into the slide rail until the spring-loaded pin snaps into place. See
Figure 6.
Figure 7. Extending the pin, and installing the bracket into the slide rail 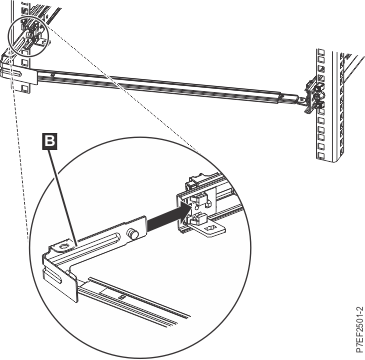
- Facing the rear of the rack, orient the support arm so the embossed UP
1 is at the rear of the right rail. See Figure 3.